

Starting a project — the first screen, the stage tracker, and Chat vs. Form mode
Every aiKit project begins at /start, before you've created an account and before you've committed to anything. This guide covers the very first choice you make, the progress tracker that stays with you the whole way, and how the two intake formats relate to each other.
Start a project →The first screen — "What are we building today?"
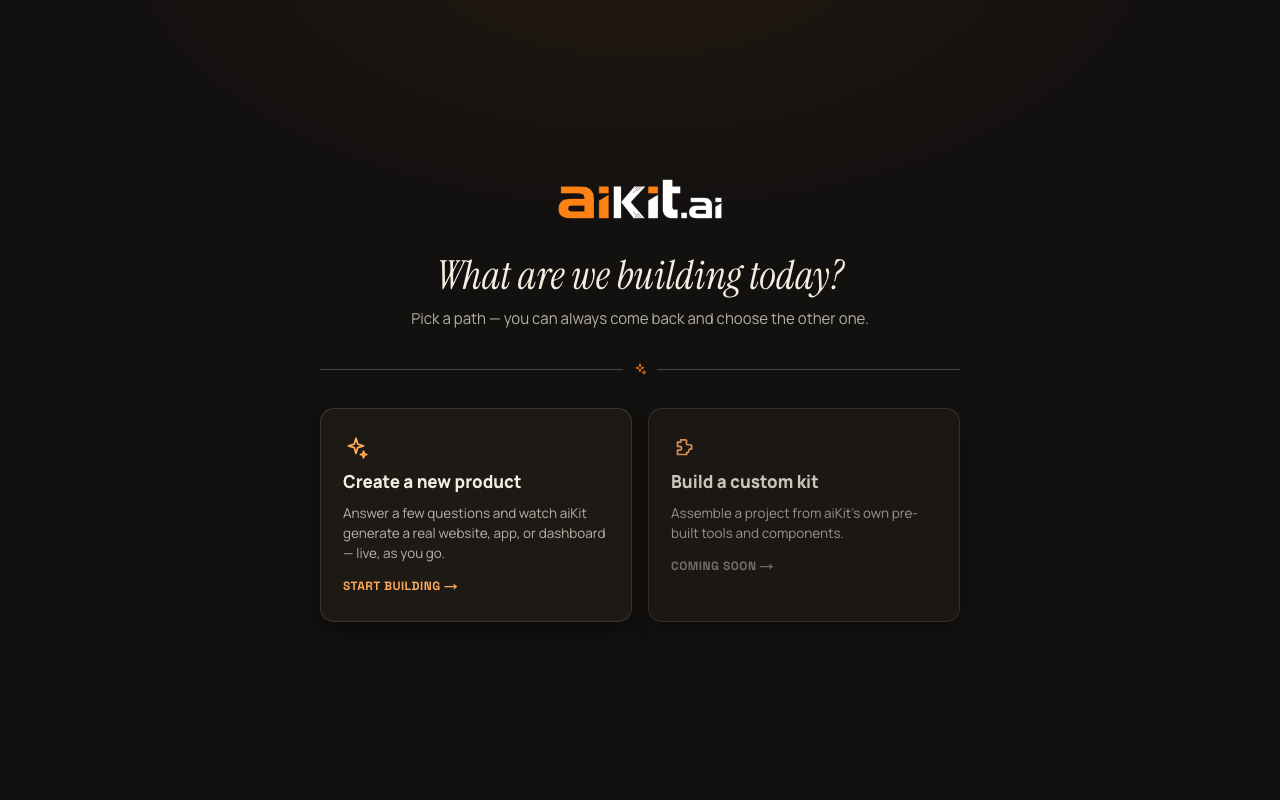
Before you see Chat mode or Form mode, /start shows one simple choice: two large cards under the heading "What are we building today?" with the subtext "Pick a path — you can always come back and choose the other one."
The first card, "Create a new product," is the real, live path — its description reads "Answer a few questions and watch aiKit generate a real website, app, or dashboard — live, as you go," with a "Start building →" call to action. This is what the rest of this guide, and every other guide in this Help Center, covers.
The second card, "Build a custom kit," is honestly labeled "Coming soon →" — its description ("Assemble a project from aiKit's own pre-built tools and components") describes a future way of working, not something you can do yet. Clicking it takes you to a plain placeholder screen that says exactly that: "This is coming soon. We're still designing the best way to help you build from aiKit's own tools," with a "← Back to choices" button to return to the two-card screen. Nothing on that screen does anything else yet.
The stage tracker — always visible once you're building
Once you pick "Create a new product," a four-stage progress tracker appears at the top of the screen and stays there for the rest of your project: "Tell us about your project" → "We show you what's possible" → "You shape it" → "Go live." On narrow screens these shorten to "Tell us / See it / Shape it / Go live."
Each stage shows as a numbered dot until you reach it, a checkmark once you've passed it, and is visually marked as active while you're in it — so at any point in the process you can look at the top of the screen and know exactly where you are and what's left.
Two intake formats, one underlying project
Once you're past the entry screen, the first real choice is Chat mode or Form mode, switchable at any time with a small toggle. Chat mode is a conversational intake — aiKit asks you one question at a time, the way you'd describe your business to a person sitting across from you. Form mode is the same intake laid out as a structured form with three expandable sections you can open in any order.
These aren't two different products — they're two different ways of filling in the same underlying project. Anything you enter in one carries over automatically if you switch to the other, so picking Chat mode doesn't lock you out of Form mode's at-a-glance form later, and vice versa. Chat mode is what a fresh visitor sees by default.
What aiKit actually asks for
- Your project or business name, and a description of what you want built — the fuller this is, the sharper your draft turns out. You don't have to write it as one big paragraph: both Chat mode and Form mode let you build the description up one paragraph at a time (with low-friction nudges on what's still worth covering) or paste the whole thing at once — see the "Chat mode" and "Form mode" guides below for exactly how.
- An existing website, if you have one (optional) — aiKit does a quick read of it so its questions and your plan reflect your real business instead of guessing.
- Who it's mainly for, and what the main goal is (both optional) — this is the one thing aiKit quietly optimizes the rest of the plan around.
- What kind of project this is — Website, Landing Page, Client Portal, Internal Tool, App, Admin System, or Something Else. You can pick more than one if your project genuinely needs both a public-facing side and real software behind it.
- A visual style direction, if you already have one in mind — or you can let aiKit suggest one based on everything else you've told it.
- A wider range of optional depth fields, only in Form mode (see the "Form mode, step by step" guide for exactly where each one lives): what's driving this project right now, what you've already tried before, any specific numbers worth knowing, and behind-the-scenes operational work customers never see — plus an open-ended notes box on each of Form mode's three sections for anything else that doesn't fit a structured field. None of this is required, but everything you add reaches the model that writes your plan at the same weight as your main description.
No account needed for your first project
You can go through this entire intake, see a complete first draft, and refine it, without creating an account. Your first project is free that way from start to finish.
There are three later points where aiKit asks you to create a free account, and it's worth knowing them up front so none of them is a surprise: starting a SECOND project, opening your Projects list to see everything you've made, and publishing a project to a live link (a live site needs a real owner). The first two show a signup card right where you are, over what you were doing — nothing you've typed is lost, and creating the account picks up exactly where you left off. The order is deliberate: you see real, concrete value before being asked to commit to anything.
A small but genuinely useful detail: voice input
Most text fields in the intake flow — your description, audience, goal, inspiration, Form mode's extra depth fields and section notes, and free-text interview or revision answers — have a microphone button next to them (it simply doesn't render at all in browsers that don't support voice dictation, rather than showing a broken control). If typing out a long description is more friction than talking it through, you can dictate instead, and it writes what you say straight into the field.
Have a quicker, specific question instead? Check the FAQ.